What's Hot
Design
Freebies
Inspiration
Photography
Styles
Typography
Brand Color Palettes
Code
CSS
HTML
JavaScript
Ruby
Software
Adobe Illustrator
Adobe Photoshop
Google Analytics
Instagram
Wordpress
English
English
Español
Français
What's Hot
Design
Design
Freebies
Inspiration
Photography
Styles
Typography
Brand Color Palettes
Code
Code
CSS
HTML
JavaScript
Ruby
Software
Software
Adobe Illustrator
Adobe Photoshop
Google Analytics
Instagram
Wordpress
English
English
English
Español
Français
Written by
on 17 August 2023
null
Latest
Tools and Apps to Turn Audio into Video for YouTube
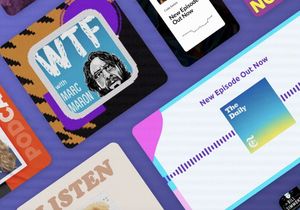
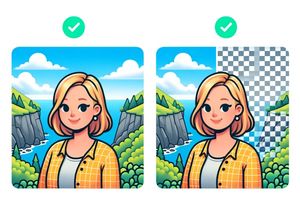
Top 10 AI-Powered Tools to Remove Backgrounds from Photos
Animating Text using CSS and Variable Fonts (Google Fonts)
Hot Topics
responsive web design
web design
colour palette
google plus
css
wordpress
wordpress mobile
HTML
twitter
vimeo
social media
typography
design
icons
paid
web
javascript
filter
Google Analytics
ip address
traffic
graphic design
instagram
instagram filter
photoshop
photoshop atn
Adobe Photoshop
instagram filters
interaction design
search
ux
UX Design
design process
portfolio
process
color
digital marketing
photography
photoshop actions
Ruby
styles
Freebies
Adobe Illustrator
apps
inspiration
Bootstrap
Google Adsense
Tools
camera
video
video editing apps
beauty apps
photo taking apps
cinemagraphs
stop motion video
loop video
animated gifs
how to add music to a picture
3d picture effects
photo collage apps
photography apps
good photo editing app
good photo editing apps
branding
logos
augmented reality
vector
stories
Illustrations
google fonts
AI
audio
youtube
palette
palettes